
Quick summary
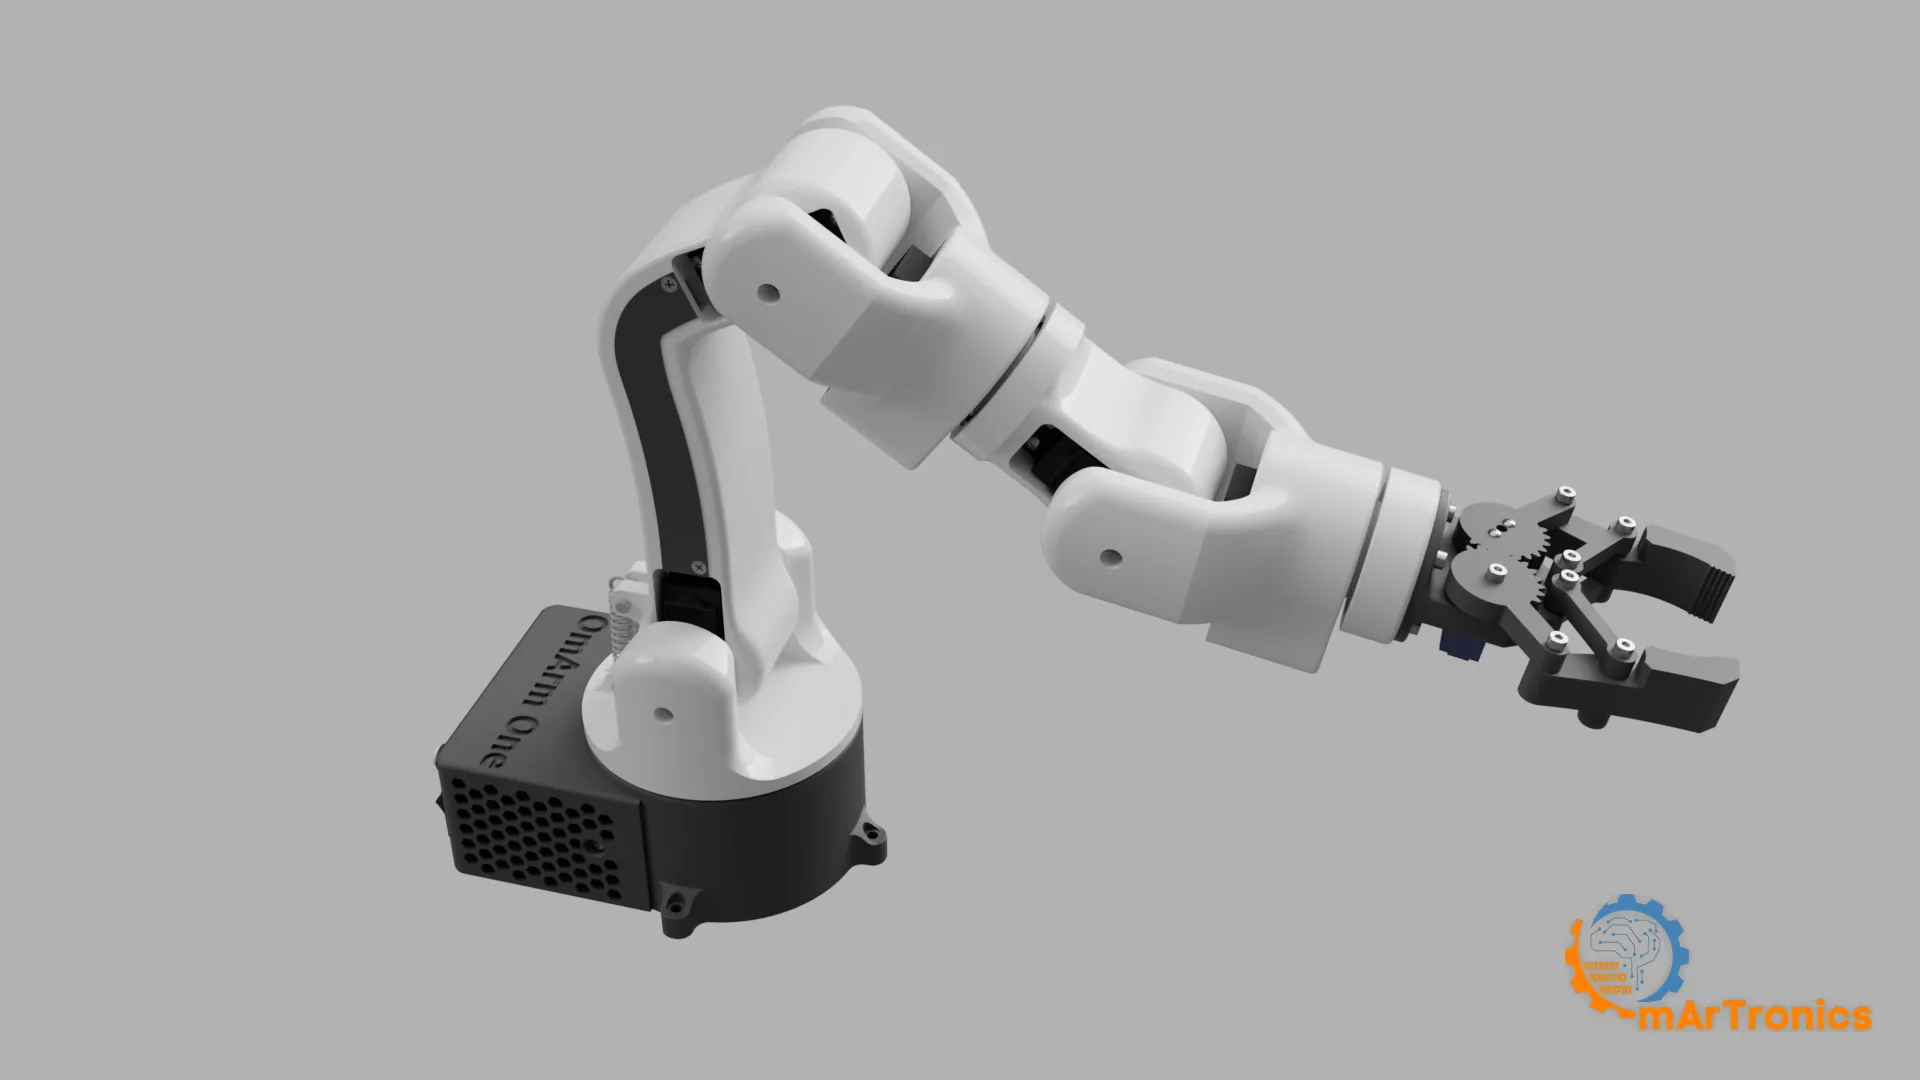
Four 3D printed robot arms, all built and documented on this site: a potentiometer-controlled Arduino arm, the same arm with Bluetooth, the OmArm Zero with ESP32 WiFi control and a four-part ROS 2 series, and the OmArm One, which runs on ball bearings. This page explains what “6-axis” and “6 DOF” mean, compares the four designs in one table and tells you which one to build first. Every design has a free step-by-step tutorial and a download package with the print files.
I have built four robot arms since 2024, each one fixing something the previous one could not do. If you want to build a 6-axis arm at home, you do not have to repeat that path. This page is the overview I wish I had at the start: the vocabulary, the four designs side by side, and an honest answer to “which one first?”.
What “6-axis” and “6 DOF” mean
An axis is one powered joint. A degree of freedom (DOF) is one independent motion. On an industrial arm the two words mean the same thing: six joints, so the tool can reach any position (three DOF) in any orientation (three more). That is why factory arms are “6-axis”.
Hobby arms count differently, and I followed the habit. Most “6-DOF” kits and tutorials, including my first two arms and the OmArm Zero, have five joints plus a gripper. The gripper opens and closes, so it is a motion, but it does not add reach or orientation. Written honestly, that is 5+1. The OmArm One has six real joints plus a gripper, so it is 6+1, or “7-DOF” in the hobby convention.
I kept the hobby names on my tutorials because that is what people search for, but the table below counts the joints the strict way.
The four arms side by side
| Arm | Joints | Servos | Control | Reach / payload | Files |
|---|---|---|---|---|---|
| 6-DOF Arduino arm (2024) | 5 + gripper | 3× MG996R, 3× SG90 | Arduino Mega + PCA9685, one potentiometer per servo | Not measured; light objects only | 12 STL, free package |
| 6-DOF Bluetooth arm | 5 + gripper | 3× MG996R, 3× SG90 | Arduino Uno + HC-05 + PCA9685, Android app, 10 stored poses | Not measured; light objects only | 13 STL + STEP, package |
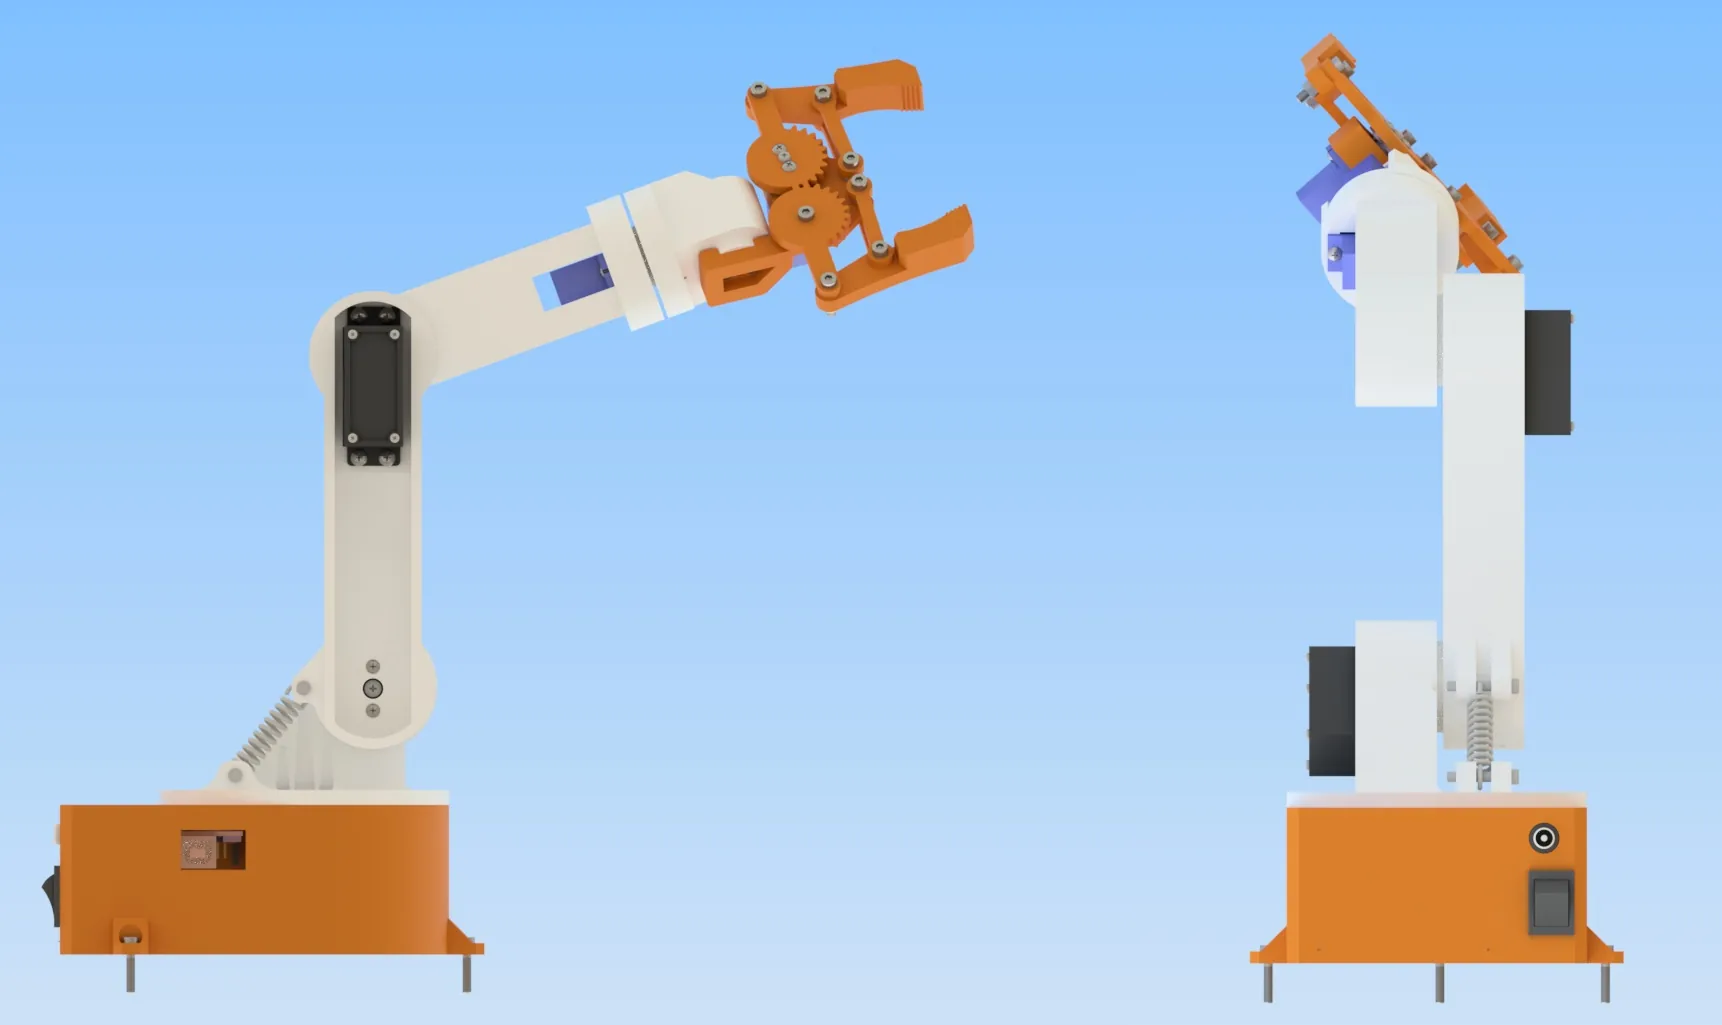
| OmArm Zero | 5 + gripper | 3× MG996R, 3× SG90 | ESP32 + PCA9685, WiFi web app, serial link for ROS 2 | 303 mm, 100 g (150 g with the shoulder spring) | 12 STL + STEP, firmware, 70-page PDF, package |
| OmArm One | 6 + gripper | 6× DS3240 (36 kg·cm), 1× SG90 | ESP32 + PCA9685, web app, PS3 controller, ROS 2 digital twin | 485 mm, 200 g (250 g max) at 300 mm radius | 23 printed pieces, ball bearings in every loaded joint, firmware, 90-page PDF, package |
There is a fifth variant: the OmObiArm puts the Bluetooth arm on a four-wheel rover, so you drive to the object before you grab it. Mechanically it is the Bluetooth arm with a modified base.
Which arm should you build first?
- You have never wired a servo: build the Arduino arm. Six potentiometers, no app, no WiFi. You turn a knob and a joint moves, which teaches you more about servos, torque and power than any software does.
- You want to control it from your phone: build the Bluetooth arm. Same parts plus an HC-05 module and an app made in MIT App Inventor. It stores ten poses and plays them back.
- You want to learn ROS 2, MoveIt 2 or computer vision: build the OmArm Zero. It costs about $50 in parts and carries a four-part series: the build, the URDF model, motion planning and pick-and-place with a camera.
- You want a machine, not a demo: build the OmArm One. Ball bearings in every loaded joint, 485 mm reach, 200 g payload, and a digital twin that matches the real arm.
The jump from the Bluetooth arm to the OmArm Zero happened because of two annoyances: the Bluetooth range was short, and it took two boards (an Uno and an HC-05) to do what one ESP32 does on its own. The jump from Zero to One happened because Zero’s shoulder needed a spring to lift 150 g. Bearings fix that properly.
What every 6-axis arm needs
Servos
The three small arms use MG996R servos (metal gears, about 10 kg·cm) for the base, shoulder and elbow, and SG90 micro servos for the wrist and gripper. The OmArm One uses six DS3240 servos with 36 kg·cm at 5 V. The number that matters is stall torque divided by the lever arm: a servo rated 10 kg·cm holds 1 kg at 1 cm, but only 100 g at 10 cm, and a hobby servo should never run near stall. My servo guide covers the PWM signal and the wiring.
A servo driver
All four arms use a PCA9685 board. It takes two I2C wires from the microcontroller and gives you 16 PWM channels with their own power rail, so the servos never draw current through the Arduino or ESP32. One detail decides the board on the first arm: the Uno’s I2C pins are A4 and A5, and the six potentiometers need all six analog inputs. That is why the potentiometer arm runs on a Mega, while the Bluetooth version is fine on an Uno.
Power
Six servos can draw several amps when they start moving at the same time. USB cannot supply that. Use a separate 5 V to 6 V supply for the servo rail of the PCA9685 and connect its ground to the microcontroller ground. If the arm twitches, resets the board or moves on its own, the power supply is the first thing to check, not the code.
Printing
Everything prints in PLA at 0.2 mm layers. The OmArm Zero fits a 220 × 220 mm bed, and the two Arduino arms use parts of similar size; the OmArm One needs a 256 mm bed (I print it on a Bambu Lab P1S). Use at least 40 % infill for the base and the arm links. Fit each servo horn with the servo at 90° before you screw the link on, otherwise the joint runs out of travel on one side.
Bearings
The small arms have one 6806ZZ ball bearing in the base and plastic-on-plastic joints everywhere else. That is fine for a few hundred grams of arm. The OmArm One puts a 51110 thrust bearing and a 6806ZZ in the base, 695ZZ bearings at the three pitch joints and another 6806ZZ at the forearm roll, so no servo shaft carries a bending load. The build post explains the math behind that decision.
The questions I get most often
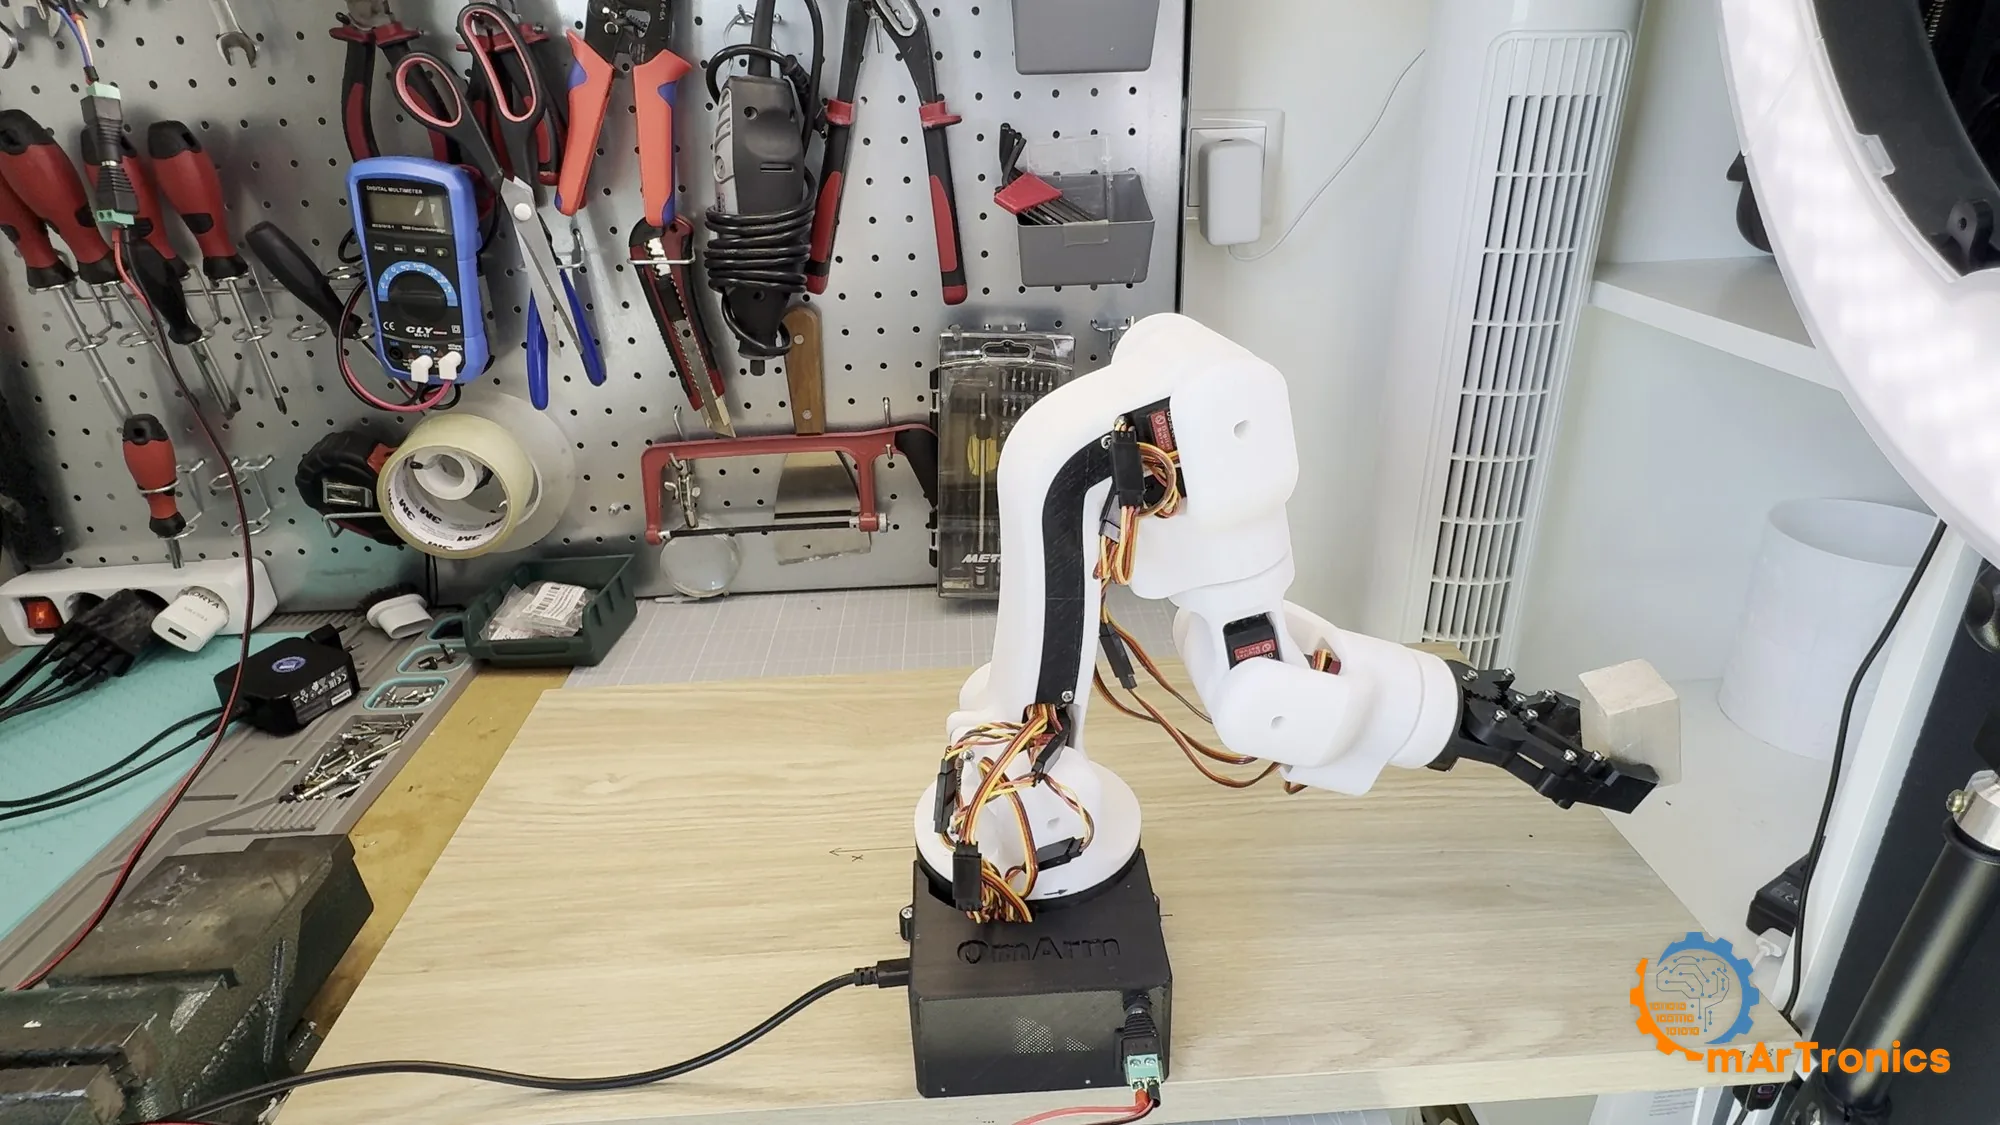
The first arm alone brought hundreds of questions in the comments and by mail. Most of them come down to five things:
- Powering the servos from the Arduino 5 V pin. It works with one servo and fails with six.
- Forgetting the common ground between the servo supply and the controller. The arm jitters and the readings drift.
- Mounting a servo horn at a random angle. Center the servo first, then fit the horn.
- Which screws go where. Every tutorial has the full list; the packages ship a README with it.
- Expecting a hobby servo arm to repeat a position like an industrial arm. It does not. Bearings and stiff links help; the servos still have slack. Plan the gripper and the task around that.
Frequently asked questions
How much does it cost to build a 6-axis robot arm?
The OmArm Zero came to about $48 in parts: servos, ESP32, PCA9685, power supply, bearing, screws and filament. The two Arduino arms use the same servos and driver, so their parts land in the same range. The OmArm One costs more, mainly because of the six DS3240 servos and the bearings; the bill of materials in its package lists every part.
Can an Arduino Uno control a 6-axis arm?
Yes, with a PCA9685 driver. The Uno only runs out of pins if you also want six potentiometers, because A4 and A5 are the I2C pins. The Bluetooth arm runs on an Uno; the potentiometer arm needs a Mega.
Is a 6-DOF hobby arm the same as an industrial 6-axis arm?
No. Most hobby “6-DOF” arms have five joints plus a gripper, so they cannot reach every orientation. An industrial 6-axis arm has six joints before the tool. The OmArm One is the only one of my designs with six real joints.
Do I need ball bearings?
Not for a light arm. One bearing in the base is enough for the small designs. Bearings in every joint matter when you want payload at reach, as the OmArm One shows: 200 g at a 300 mm radius, where the Zero is rated for 100 g, or 150 g with its shoulder spring.
Which 3D printer do I need?
Any FDM printer with a 220 × 220 mm bed prints the three small arms. The OmArm One needs 256 mm. PLA is enough for all four.
Files, code and where to start
- Tutorials: Arduino arm, Bluetooth arm, OmArm Zero, OmArm One, OmArm One with a PS3 controller
- Print files and packages: the shop. The Arduino arm package is free; the product page of each package lists exactly what is inside.
- Firmware (MIT): OmArm-Zero on GitHub, OmArm-One on GitHub
- New to all of this? The Start Here page puts the tutorials in order, from the first servo to ROS 2.