
DIY Arduino Radar with Ultrasonic Sensor & Servo Motor
Original price was: 4,90 €.0,00 €Current price is: 0,00 €.
DIY Arduino radar project with ultrasonic sensor and servo. Includes the STL mount file, Arduino code, and a Processing sketch for the radar display.
Description
DIY Arduino Radar System
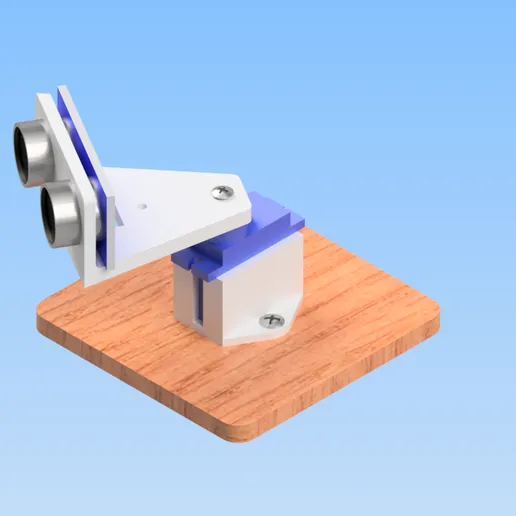
This is a radar project built around an Arduino and an ultrasonic sensor. The sensor sits on a servo motor, sweeps back and forth, and measures the distance to whatever is in front of it. Those readings go to a Processing sketch on your computer, which draws them on a radar screen in real time.
It looks cool when it works. You get a green sweep line, little dots where objects are, and the whole thing updates live as the sensor moves. The build is not complicated, but you do need to get the wiring right and upload two separate programs: one to the Arduino for controlling the servo and reading the sensor, and one Processing sketch to your computer for drawing the display.
What you actually get
The download package has three things:
- An STL file for the sensor and servo mount, ready to 3D print
- The Arduino sketch that handles scanning
- The Processing sketch that draws the radar visualization on your screen
The STL file is for a small bracket that holds the ultrasonic sensor on top of the servo. If you do not have a 3D printer, you could also just tape the sensor to the servo horn. It works, it just looks less clean.
How it works
The Arduino rotates the servo from 0 to 180 degrees and back. At each angle, it takes a distance reading from the ultrasonic sensor using the trigger and echo pins. It sends the angle and distance over serial to the computer. The Processing sketch reads those values and draws them as a radar sweep on screen.
If you want the full wiring diagram and step by step instructions, check the tutorial linked below. The tutorial covers everything from soldering to uploading code.
Full Tutorial: DIY Arduino Radar Build Guide
Related products
-
Sale!
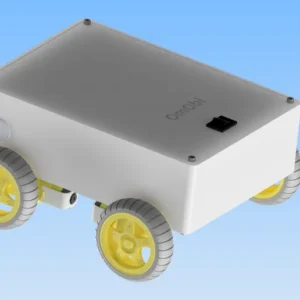
OmObi Bluetooth Robot Car: Arduino, HC-05 & Motor Shield
Original price was: 9,90 €.0,00 €Current price is: 0,00 €. Add to cart -
Sale!
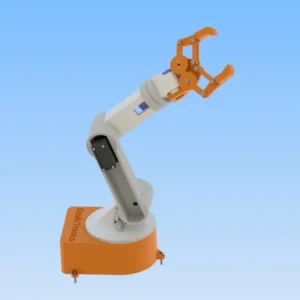
6-DOF Robotic Arm – DIY 3D Print, Wire & Program Guide
Original price was: 9,90 €.0,00 €Current price is: 0,00 €. Add to cart -
Sale!
Line-Following Robot with TCS34725 & KY-033 Sensors
Original price was: 7,90 €.0,00 €Current price is: 0,00 €. Add to cart -
Sale!
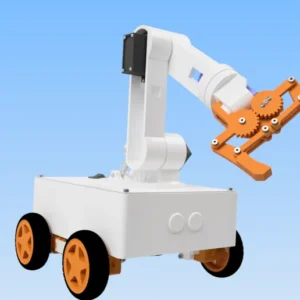
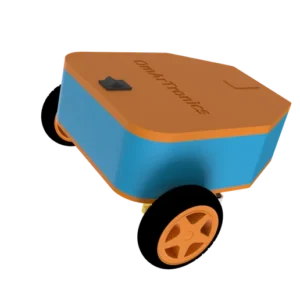
OmObiArm: Mobile Robot Arm with Arduino & Bluetooth
Original price was: 19,90 €.0,00 €Current price is: 0,00 €. Add to cart
Reviews
There are no reviews yet.