
Quick Summary
Arduino is an open source electronics platform built around the ATmega328P microcontroller. In this guide, I explain what a microcontroller actually is, how the Arduino ecosystem of boards and software works, and compare popular models like the Uno, Mega, Nano, Micro, and Leonardo so you can pick the right board for your project.
Welcome to OmArTronics! Today we’re looking at microcontrollers. These tiny chips are everywhere in modern electronics and robotics. Think of a microcontroller as a small brain for your hardware. It packs a full computing system onto one chip, and that’s what makes the Arduino board so useful.
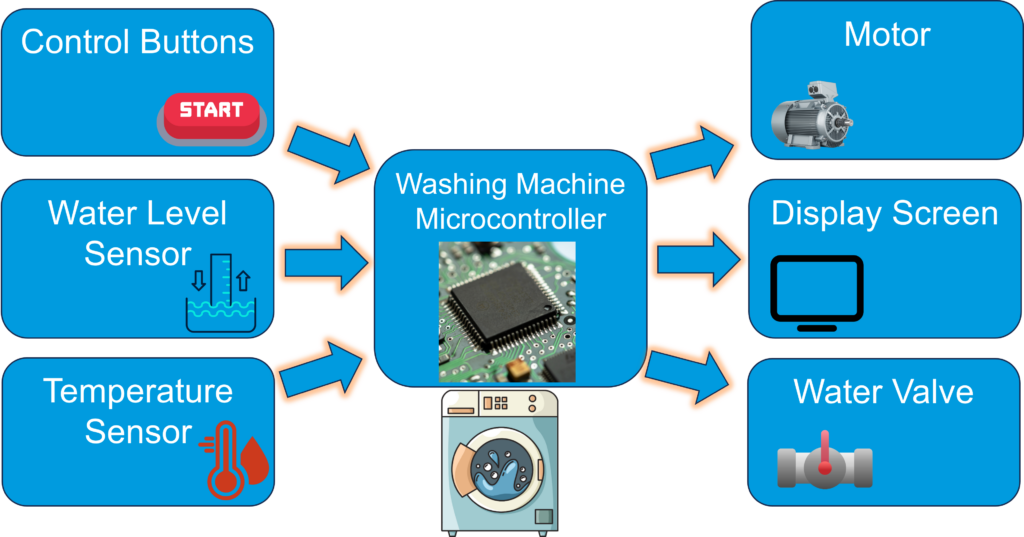
Real-world example: the washing machine
Take a washing machine as an example. The microcontroller inside reads sensor data and user inputs, then decides what the machine should do next. You pick your wash settings with the control buttons. The water level sensor makes sure the drum fills correctly, and the temperature sensor keeps track of heat.
Once it has this data, the microcontroller sends commands to the actuators. The motor spins the drum during wash and spin cycles, the display panel shows you what’s happening, and the water valve adjusts to keep levels and temperature where they should be.
What is a microcontroller?
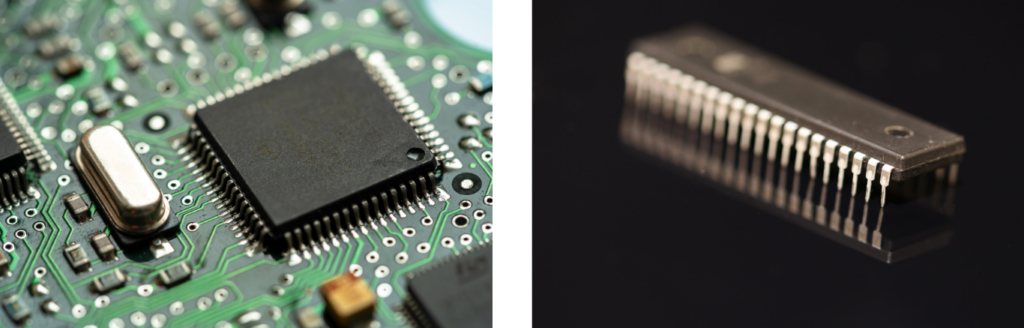
A microcontroller is a complete computer on a single chip, sometimes called a System-on-a-Chip (SoC). It includes the processing unit, memory, and input/output ports all in one package. Unlike a desktop PC with separate hardware components, a microcontroller is compact and self contained. You can use it to program and control electronic systems directly.
Why are microcontrollers important to intelligent systems and robots?
Like humans, intelligent systems need a “brain” or central processing unit. This unit receives information from sensors, processes it, and makes decisions. It sends commands to different parts of the system, and each part performs a specific action. The software that controls this whole network runs on a microcontroller.
The ATmega328p microcontroller
The ATmega328p from Atmel is a popular microcontroller for intelligent systems. It has plenty of inputs and outputs for sensors, actuators, and communication modules. Many Arduino projects use this chip as their brain, and both hobbyists and professionals rely on it to build and program electronic systems.
The Arduino Board
Arduino is an open microcontroller platform used widely by hobbyists and schools. An Arduino board combines a microcontroller (like the ATmega328p) with a simple environment for programming and prototyping. The boards are straightforward to use, and there’s a large online community for support when you get stuck.
Alternatives to the Arduino board
Beyond Arduino, there are other platforms worth knowing about:
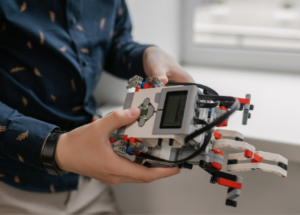
– LEGO Mindstorms: This platform uses a graphical programming environment and works well for younger learners getting into robotics. You build robots from LEGO parts, motors, and sensors.
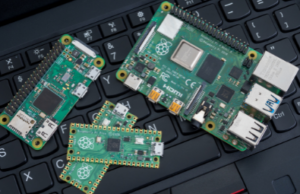
– Raspberry Pi: This is a small, low cost computer that handles both hardware control and heavier computational tasks. People use it for media servers, home automation, and projects that need more processing power than an Arduino can provide.
One thing worth noting: Arduino microcontrollers run code directly without an operating system. Your projects start the moment you power up the board, which makes them efficient and reliable for control and automation tasks.
The Arduino platform
The Arduino platform is an open source electronics platform. Enthusiasts, artists, and developers use it to create interactive objects and environments. It relies on simple, open source hardware and software. The platform actually started in education, where teachers used it to demonstrate the basics of electronics and programming.
The Arduino hardware
The Arduino board is the main piece of Arduino hardware. It’s a microcontroller-based development board that lets you prototype and test electronic circuits. It provides inputs and outputs for connecting sensors, actuators, and other components.
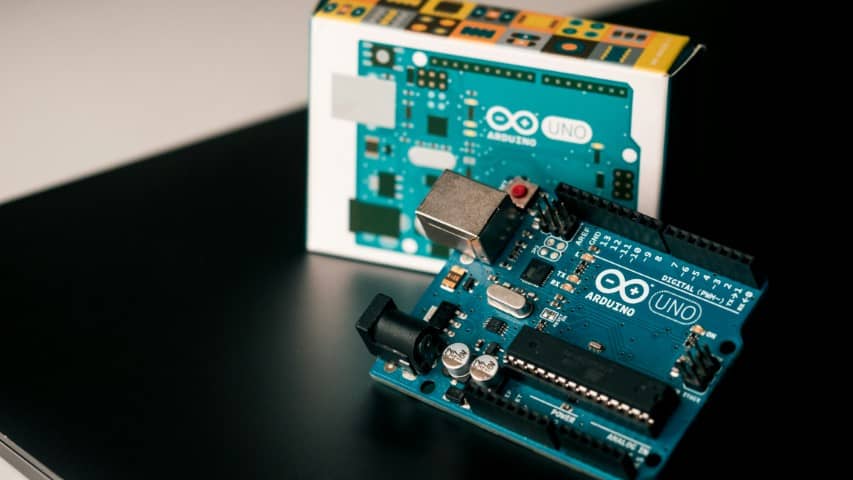
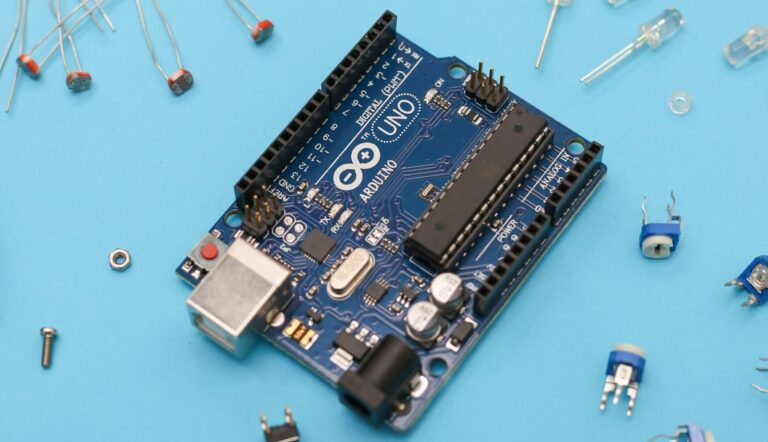
The Arduino Uno
The Arduino Uno is the most common board in the Arduino family. “Uno” means “one” in Italian, and it was one of the first boards Arduino released. Most people who are new to programming and electronics start here. It has an ATmega328P microcontroller, digital I/O pins, analog inputs, a USB port, and a power jack.
Arduino Uno features
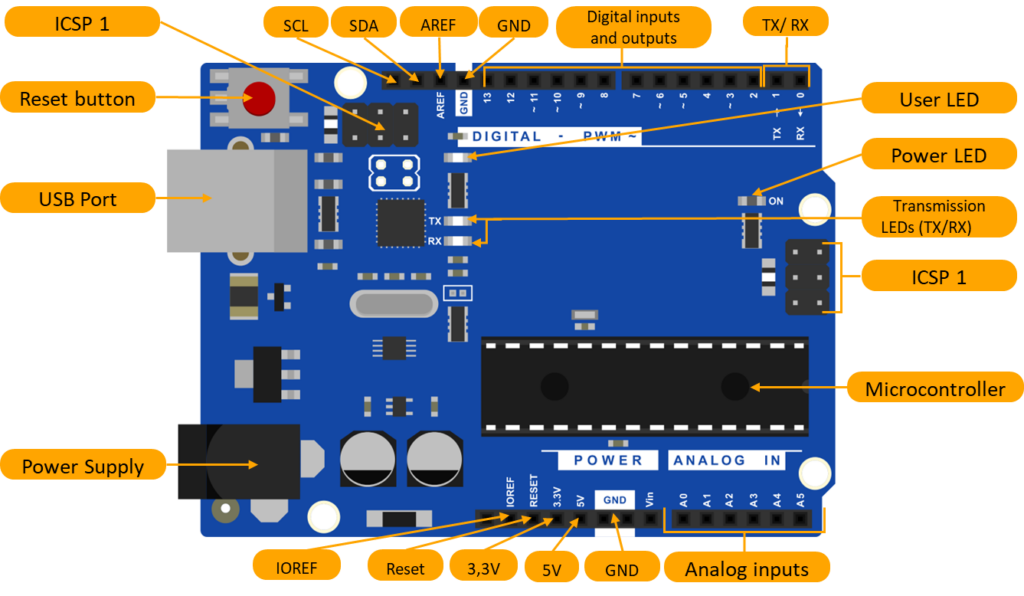
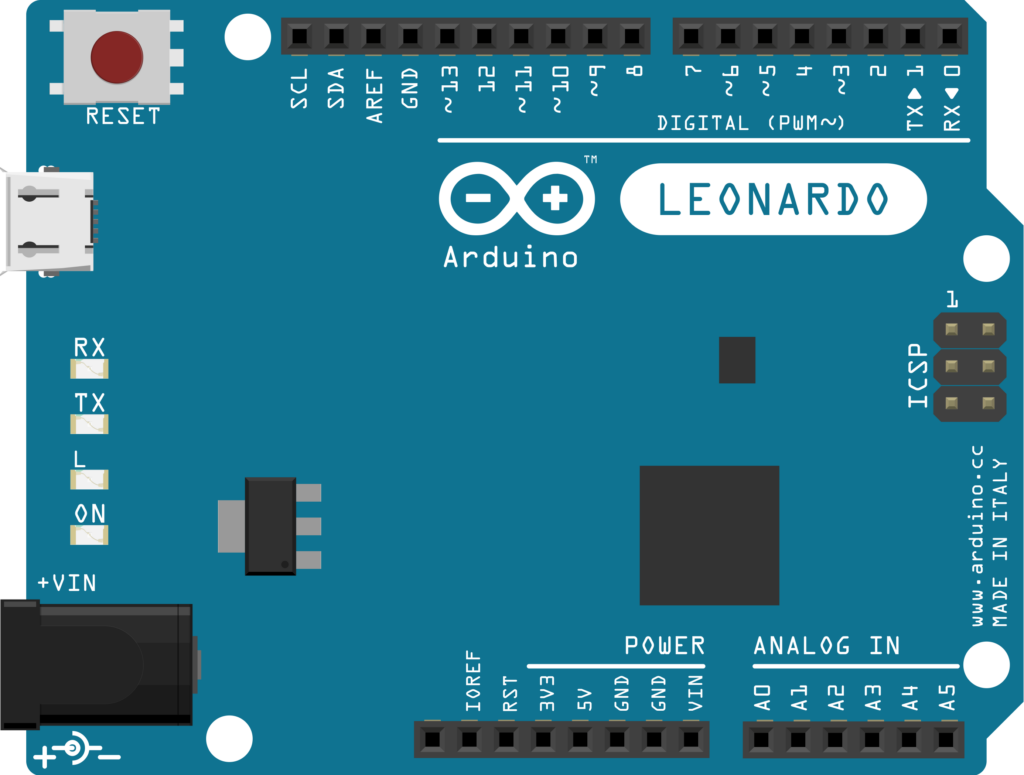
Reset button: This button reboots your Arduino Uno and restarts the program. It’s a quick way to start over without unplugging and reconnecting power.
ICSP connector 2: You use this interface for in-circuit serial programming. It lets you update the Arduino’s firmware or bypass the bootloader.
Inputs/Outputs: The board has digital pins that read signals from sensors or control devices, plus analog inputs that measure various voltages.
User LED: This LED, labeled ‘L’, lights up or blinks based on your code. For example, you can use it as a diagnostic tool or for user interaction.
Power LED: This light tells you the Arduino Uno has power and is ready to go.
ICSP connector 1: Like ICSP connector 2, you use this for serial programming. It lets you flash software directly to the microcontroller.
Microcontroller: The ATmega328P is the brain of the Arduino Uno. It processes input from peripherals and runs whatever code you upload.
Mounting points: Four holes let you bolt the Arduino Uno down to a base or enclosure. This comes in handy for projects that involve motion or vibration.
Communication and power features
Transmission LEDs (TX/RX): These LEDs indicate data transmission. The TX (transmitter) LED blinks when the Arduino sends data. The RX (receiver) LED blinks when the board receives data.
Power Supply Jack: This jack lets you power the Arduino Uno from an external source. Use it for projects that need more power than the USB port provides.
USB Port: The USB port does double duty: it powers the board and lets you upload code from your computer. You can also use it for serial communication.
The Uno’s usefulness comes down to all those inputs and outputs. They let you connect sensors, actuators, and other devices without much fuss.
Detailed I/O breakdown
Here’s what each I/O connection on the Uno does:
SCL and SDA: These pins handle the I²C communication protocol. You use them to connect I²C devices like sensors, EEPROMs, or other microcontrollers.
AREF: The Analog Reference pin sets an external reference voltage as the upper limit for analog inputs.
Ground (GND): These are the ground pins of the board. They complete the circuit by giving current a path back to the source.
Digital inputs and outputs: Digital pins on the Arduino work as inputs or outputs. They operate at 5V and handle many functions, such as reading keystrokes or controlling LEDs.
TX/RX (1 and 0): Pin 1 (TX) handles serial transmission and Pin 0 (RX) handles serial reception. Both pins communicate through the Arduino’s serial port.
Analog inputs: Pins A0 through A5 read signals from analog sensors and convert them to digital values your program can use.
Vin: This pin powers the Arduino board from an external source, accepting 7 to 12 volts.
5V: This pin outputs a regulated 5V from the board’s power supply. You can use it to power other components in your circuit.
3.3V: This pin provides a 3.3V supply from the Arduino’s onboard voltage regulator. Use it to power 3.3V logic level devices.
Reset: This pin restarts the microcontroller, same as pressing the reset button on the board.
IOREF: This pin shows the voltage level of the board’s I/O pins. Shields read it to adapt to the correct voltage.
Comparing Arduino boards
When choosing an Arduino board, you want to think about inputs and outputs, memory, processor speed, and physical size. The Uno is the most well known, but other boards in the Arduino family might be a better fit depending on your project. Here’s how they compare:
Arduino Uno: The Uno is the board most beginners start with. It has an ATmega328P microcontroller with 14 digital I/O pins (6 with PWM) and 6 analog inputs. You get 32 KB of flash memory and 2 KB of SRAM. It runs at 16 MHz and uses a Type B USB for programming and power. It’s a bit bigger than some other boards, but that actually makes it easier to use with a breadboard.
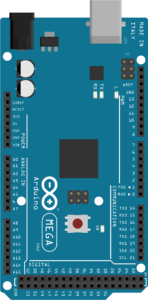
Arduino Mega: The Mega is a bigger board with more of everything. It has an ATmega2560 microcontroller with 54 digital I/O pins and 16 analog inputs, 256 KB of flash memory, and 8 KB of SRAM. It runs at 16 MHz and is popular for demanding projects like 3D printers and robotics. The larger form factor means more pins and connectivity, but it also draws more power.
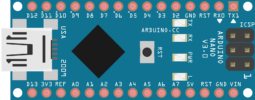
Arduino Nano: The Nano is a compact version of the Uno with the same ATmega328 microcontroller. It fits projects where space is tight. Performance is similar to the Uno, but it uses a mini-USB port. It has 14 digital I/O pins, 8 analog inputs, and 32 KB of flash memory. The smaller size makes it a good choice for permanent installations or wearables.
Compact and advanced Arduino boards
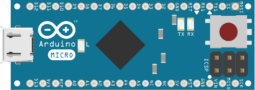
Arduino Micro: This compact board has 20 digital I/O pins and 12 analog inputs. The ATmega32U4 microcontroller runs at 16 MHz and supports direct USB communication without needing an extra processor. That means the Micro can emulate a mouse or keyboard on top of doing normal Arduino things.
Arduino Leonardo: The Leonardo shares most specs with the Micro. It uses a micro-USB port and has 32 KB of flash memory and 2.5 KB of SRAM. With 20 digital I/O pins and 12 analog inputs, there’s plenty of room for sensors and actuators. Like the Micro, it handles USB communications directly, which is useful if your project needs to act as a USB device.
A few other things to consider:
Power: The 5V and 3.3V pins supply voltage to shields and other components. The Vin pin lets you power the board from an external source, which is what you need for standalone operation.
Programming Environment: The Arduino IDE supports all of these boards and works whether you’re just starting out or have years of experience. If you want to learn more about microcontroller programming types, including graphical tools, C/C++, and Python, see our dedicated guide.
Expandability: You can expand each board with shields. These add-on boards give you features like Wi-Fi, motor control, or GPS without much extra wiring.
Community and Support: The Arduino community is large and active. You can find guides, tutorials, and forum threads for pretty much any board or project type.
When picking an Arduino board, weigh your project needs against each board’s specs. Think about I/O count, memory, processor speed, connectivity, and physical size. The right board depends on what you’re building.
5 thoughts on “What is Arduino?”